New Event from Communico on Vimeo.
Below you will fine a screen-by-screen with written instructions of the information covered in the video.
Creating a new Event
In the Events section, click the New event button then fill in and select options for your new event.
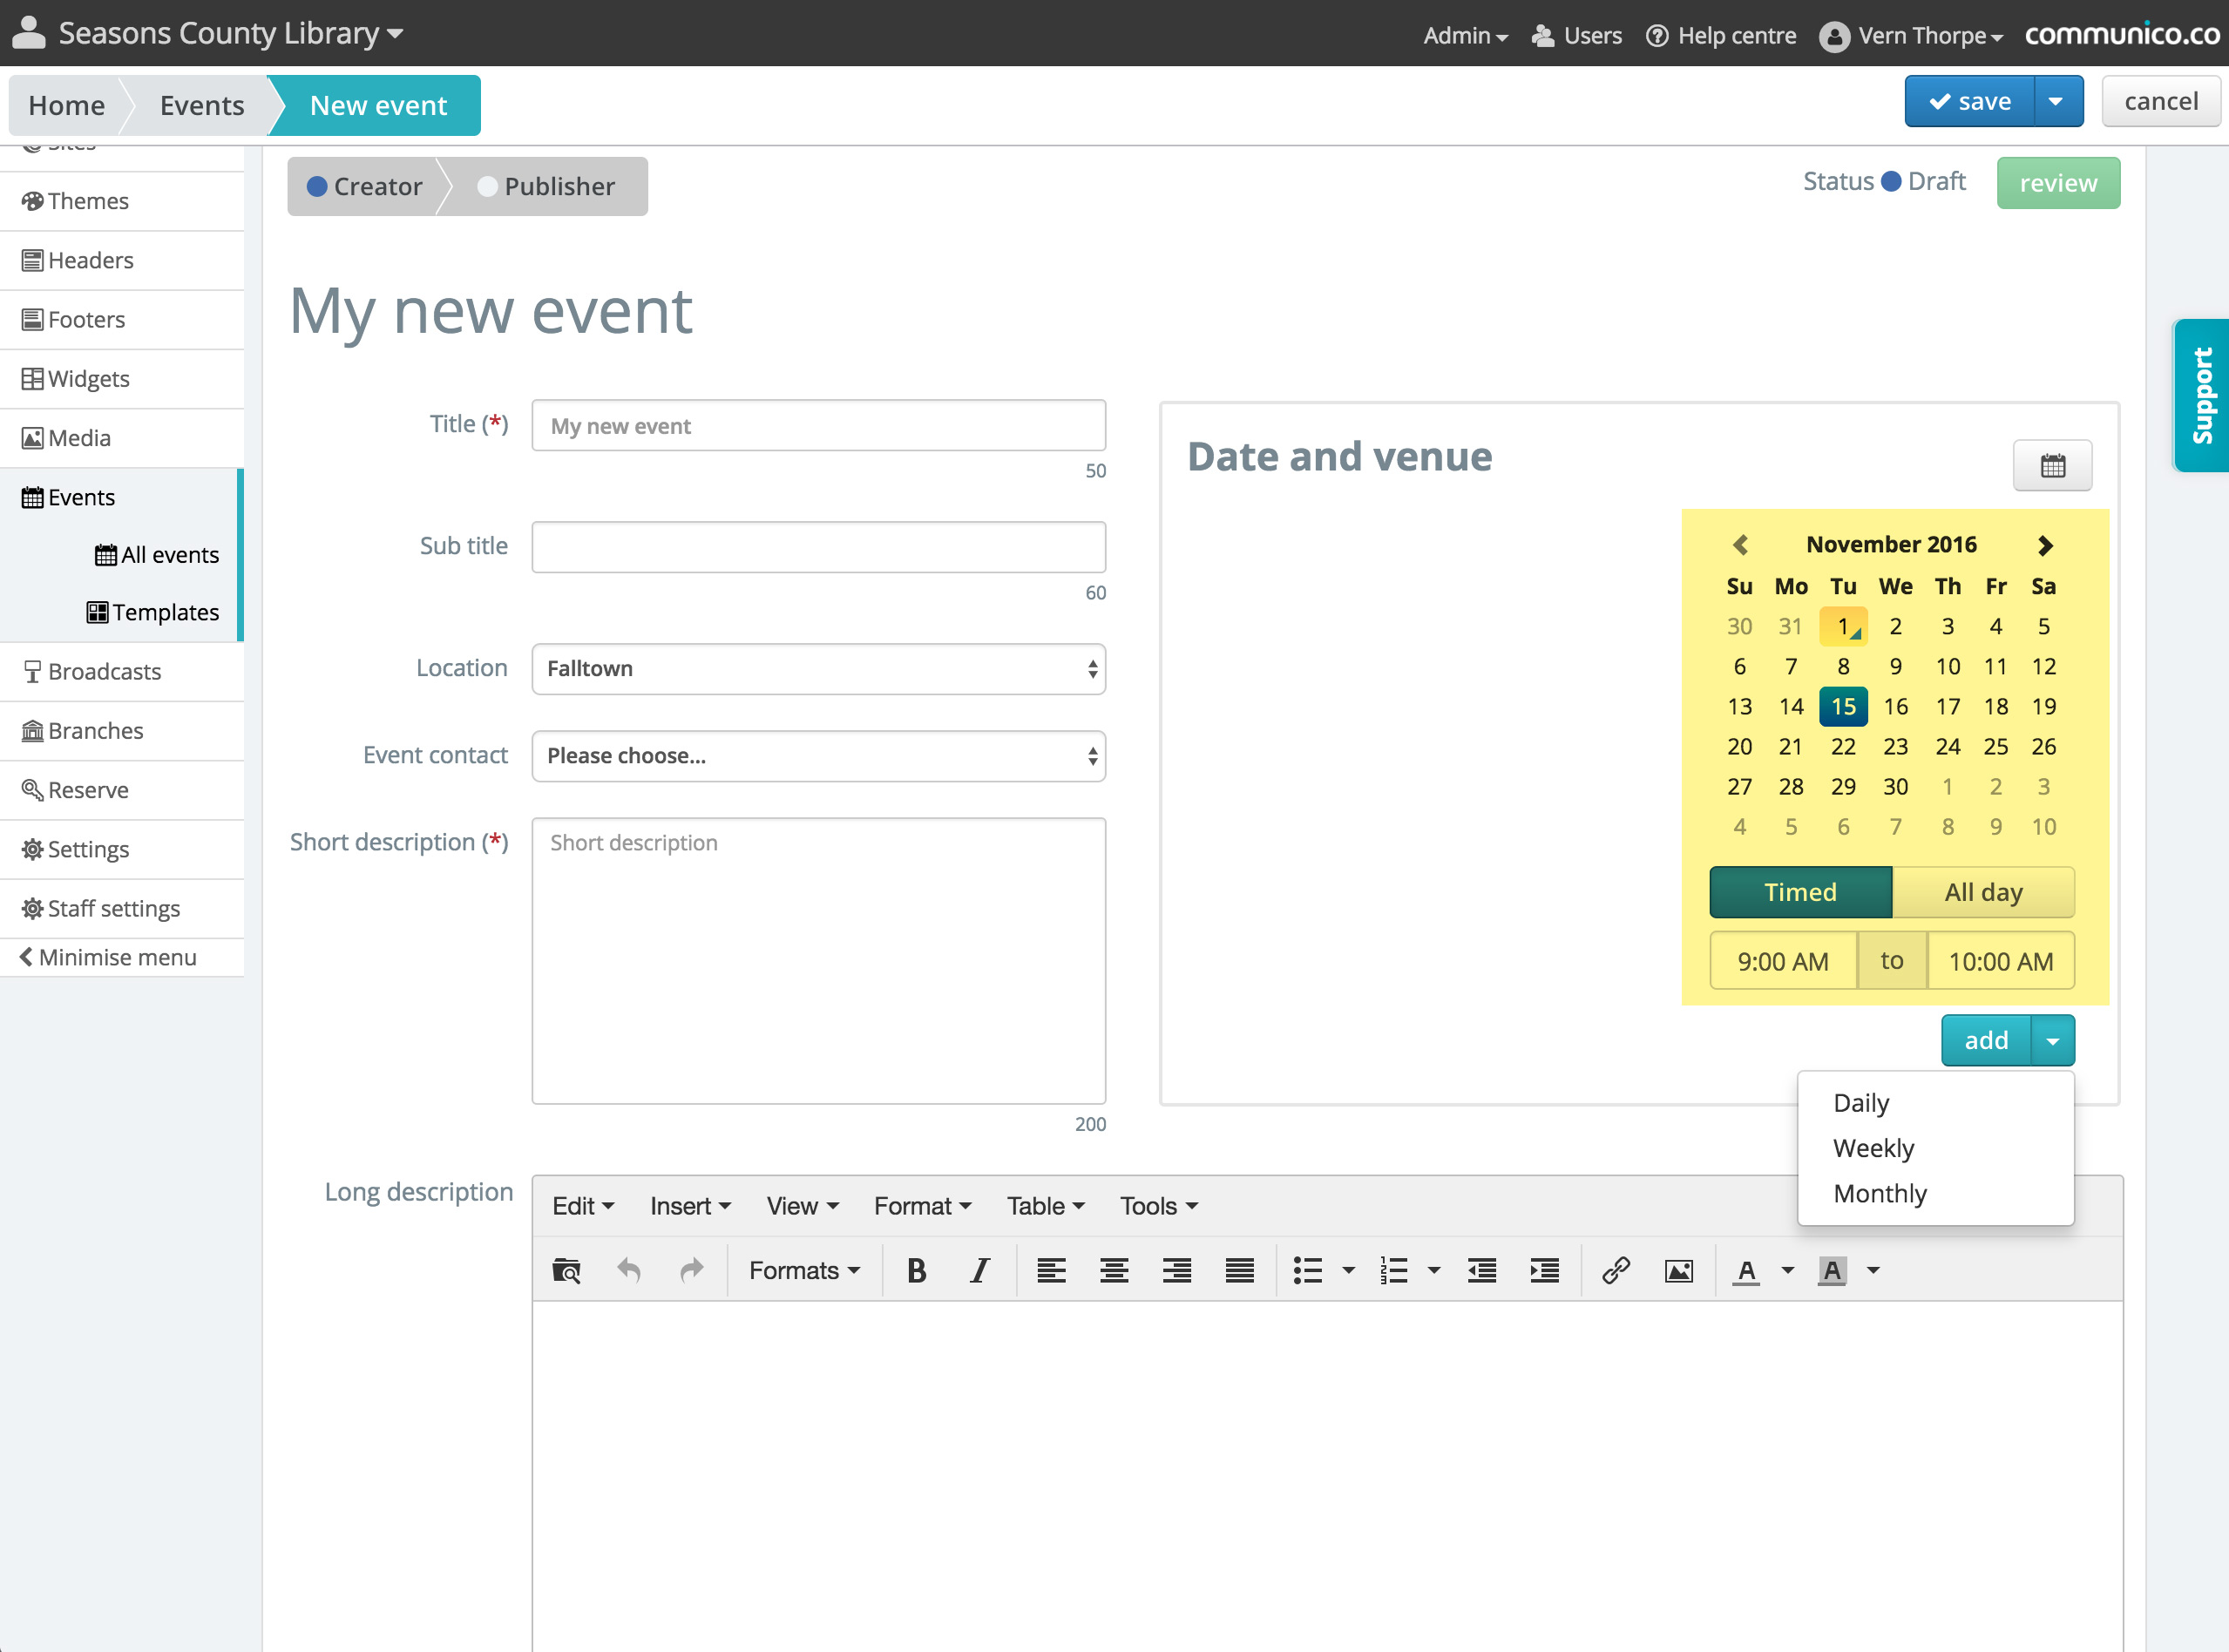
1. Event main info
The Title is the main identifier for your event, the Sub title appears after the title. They will show on your website events listing pages and individual events pages, as well as in events widgets, on digital signage and in your App. (Some settings may hide the subtitle for certain widget display options).
Select the Branch Location the event is associated with. (In most cases this will be where the event is taking place, but could be the branch that is organising an event at an external venue). Choose the person responsible for the event from the Event contact list.
Enter the event Description using the text editor. Formatting can be applied, but keep it simple to ensure a consistent look to your events for your users.
A Short description can be added which uses a limited amount of characters. This is a short summary of the event which can be used in place of the full description.

2. Event date and time
Select a Date and time for your event from the calendar picker and click add.
If the event is repeated you can just add new dates and times by picking from the calendar and adding. All event instances in the series will be listed next to the calendar.
For regular repeats, choose a start date, then use the dropdown option on the add button to select - Daily, weekly or monthly - and just choose the end date the event should repeat until.
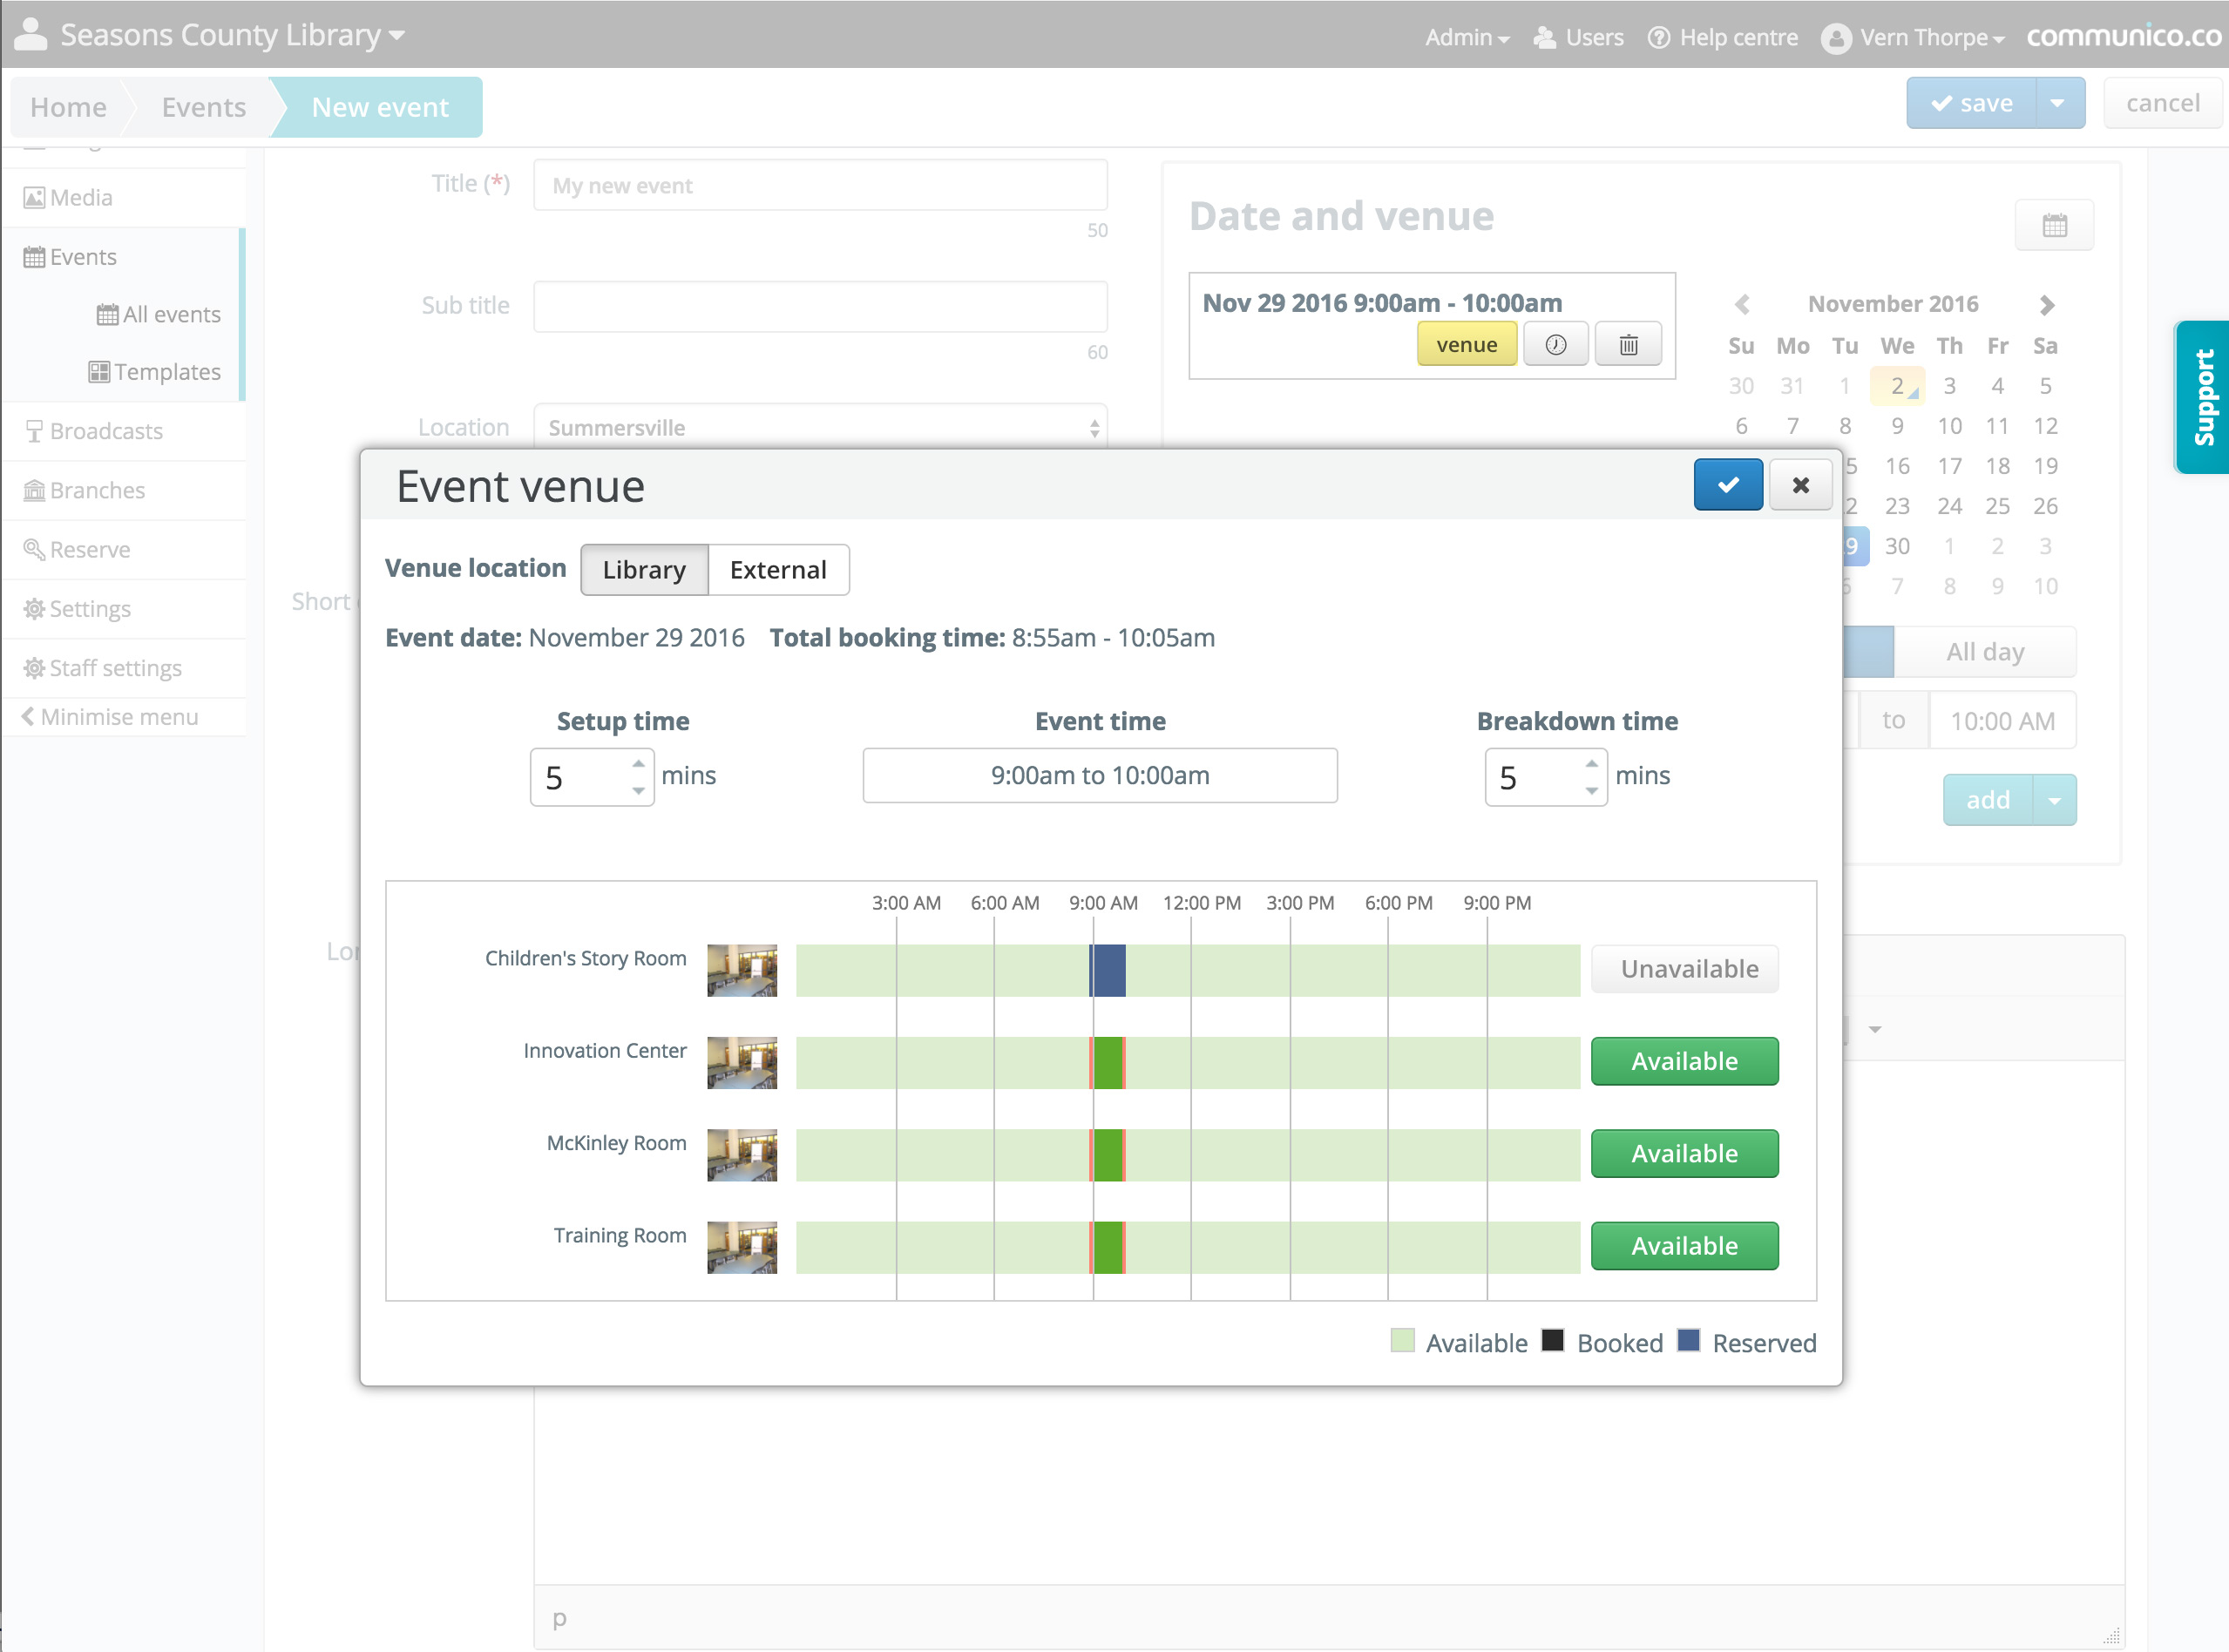
3. Choosing a venue for your event
From the Date and venue section, select the venue button and all venues at the branch on the day you have chosen for your event are shown. The time for the event is highlighted and any available venues are shown in green.
Hover or click on the venue image to reveal more details about the venue's capacity and other features.
Click the Available button for the venue you want to reserve for the event. The venue becomes selected and will be reserved.
The Setup and Breakdown time for each venue is added to the start and end time of your reservation but this can be extended. The venue is then reserved for the event time plus the set up and breakdown time.
Reserving venues for multiple date events
If your event has multiple dates, you will need to select a venue for each instance of the event.
Scroll through the event counter and choose a venue for each date.
Library events in other venues
You may have an event which will occur in an area that isn't in the library's list of bookable venues, for instance the library garden or perhaps an external venue.
In these cases, select the External tab for venue location and then enter the details of the venue. This allows event goers to see the information of where the event is taking place in the events listing.
If the event is at an external venue, use their booking system to reserve the venue. Note: The external venue information you enter will be displayed to users, but the event will still be associated with the branch that is running the event.
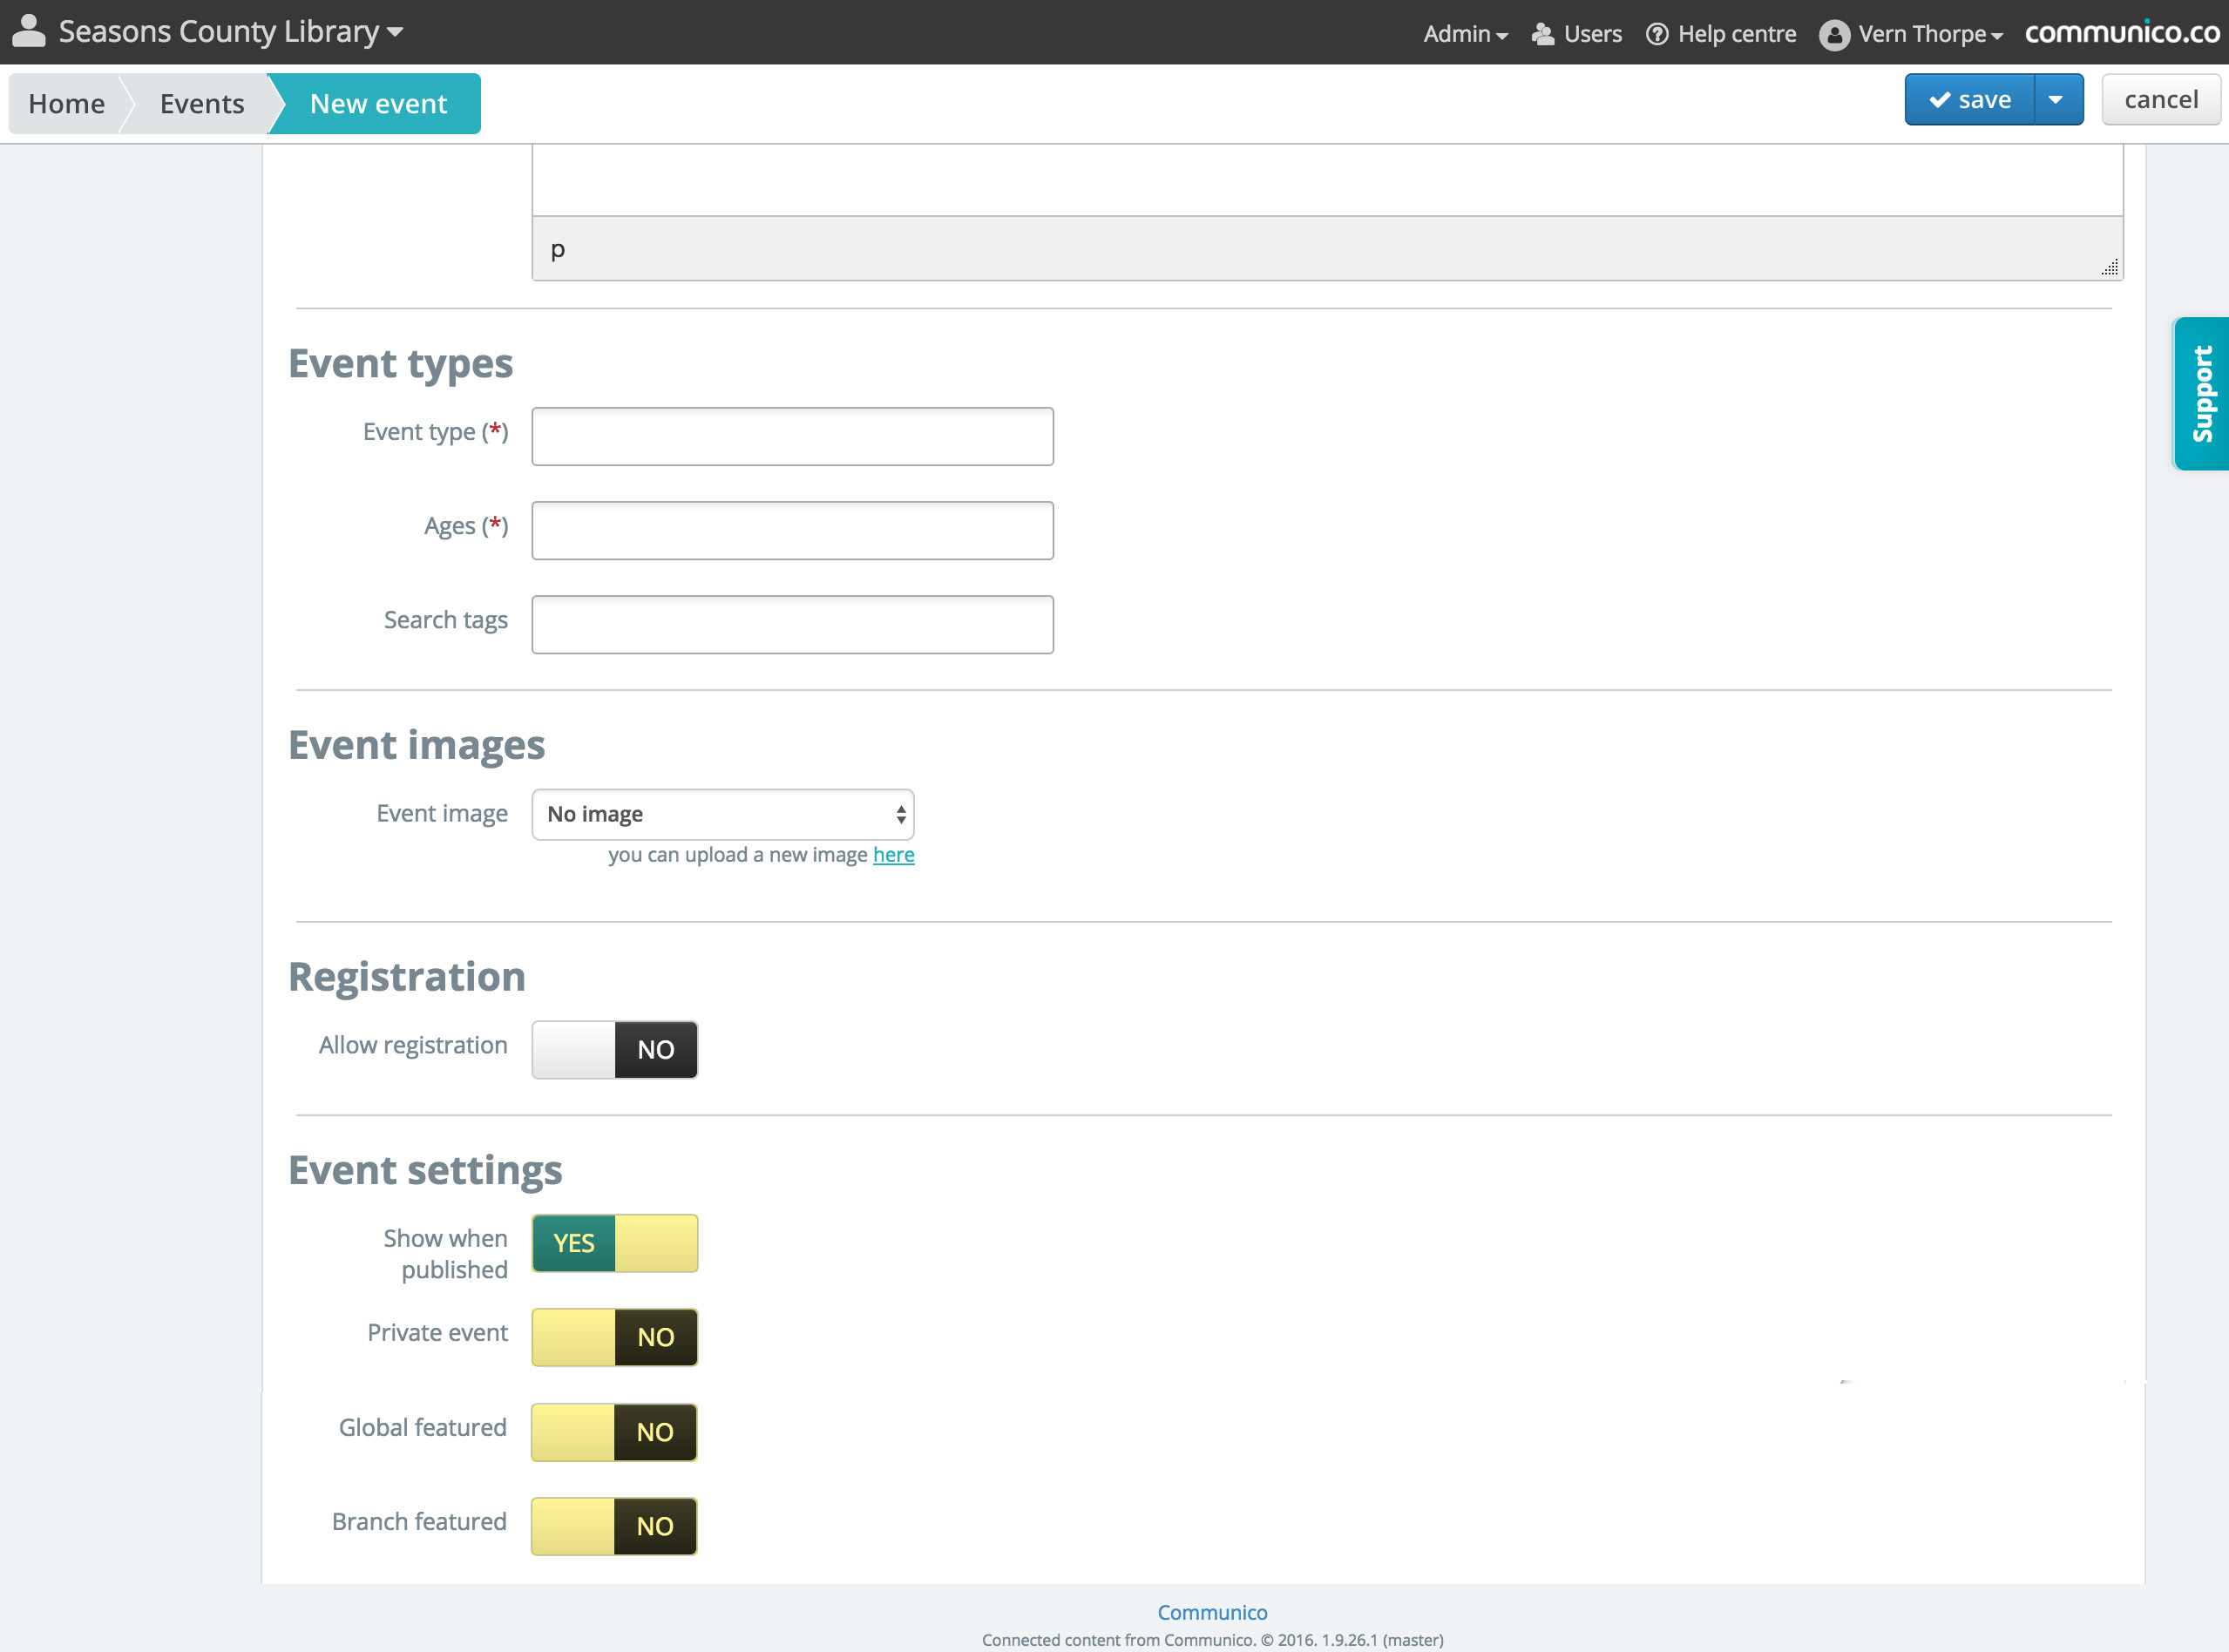
4. Event types and images
Event type
You can associate the event with an Event type so that it can be filtered by or searched for by your users. Add an event type, or multiple types, into the field. If you have permissions set, you can also add types by just entering the term. It will be added to the list and available to choose for all future events. You can limit event calendars and upcoming events widgets by event type.
Ages
You can also associate events with Age groups. This allows you to display events in widgets to particular groups. For instance just Teen events on the teen page of your website.
Search tags
You can categorize events using Event tags – aka event labels. You can assign an unlimited number of tags to each event and use these tags to group similar events. This allows events to always be discoverable. For instance, an event may have a title that doesn't reflect the type of event it is. Perhaps the event is about dogs and the event title is "My best friend". By adding a tag 'dog' any search for events on dogs, will include this event.
Event image
You can upload an image to support your events. The main Event image will be displayed next to the event on the individual event page. (350px is the optimum width for event images. Height can be larger or smaller, but keeping the aspect ratio of your event images the same will give a consistent experience for patrons).

5. Event settings
Show when published
By default as soon as an event is published it will show to the public on your website and in events widgets.
You can delay showing the event by switching the toggle to No and then choose a date in the future when it will appear to the public.
Private event
By default all events will display to the public, by switching private event to yes the event will not show to the public anywhere. (The venue where the event is taking place will just show as 'In use' but no other detail).
WE USE RESERVE FOR THIS FUNCTION, PLEASE ONLY USE RESERVE WHEN BOOKING PRIVATE EVENTS. OUR WEB CALENDAR IS ONLY FOR PUBLIC LIBRARY EVENTS.
Featured event
If an event is set to be Featured, it will be displayed in events widgets with the featured event option checked.
A featured event can be limited to display only at the branch the event is taking place at (using the branch's location information), or marked as global to display in widgets at all locations.
6. Registered events
Allow registration
All events can be set so that people have to register to attend. Just switch Allow registration to Yes. (If the event is taking place outside the library and is using a different registration system, switch third party registration to yes and then enter the web link to their registration page)
Open registration when published
Registration will open to the public as soon as the event is published. You can delay this and set a time closer to the event. Switch Open registration when published toggle to No, then pick a date.
Registration closes
Choose how near to the event you want Registration to close.
Maximum attendees
Enter the maximum number of people that can attend the event. (Make sure the venue you reserve has the capacity).
Waitlist when full
You can choose to allow registrants to be added to a waitlist if the maximum number of attendees has registered. Registrants and those on the waitlist can be managed in the registrants' section.
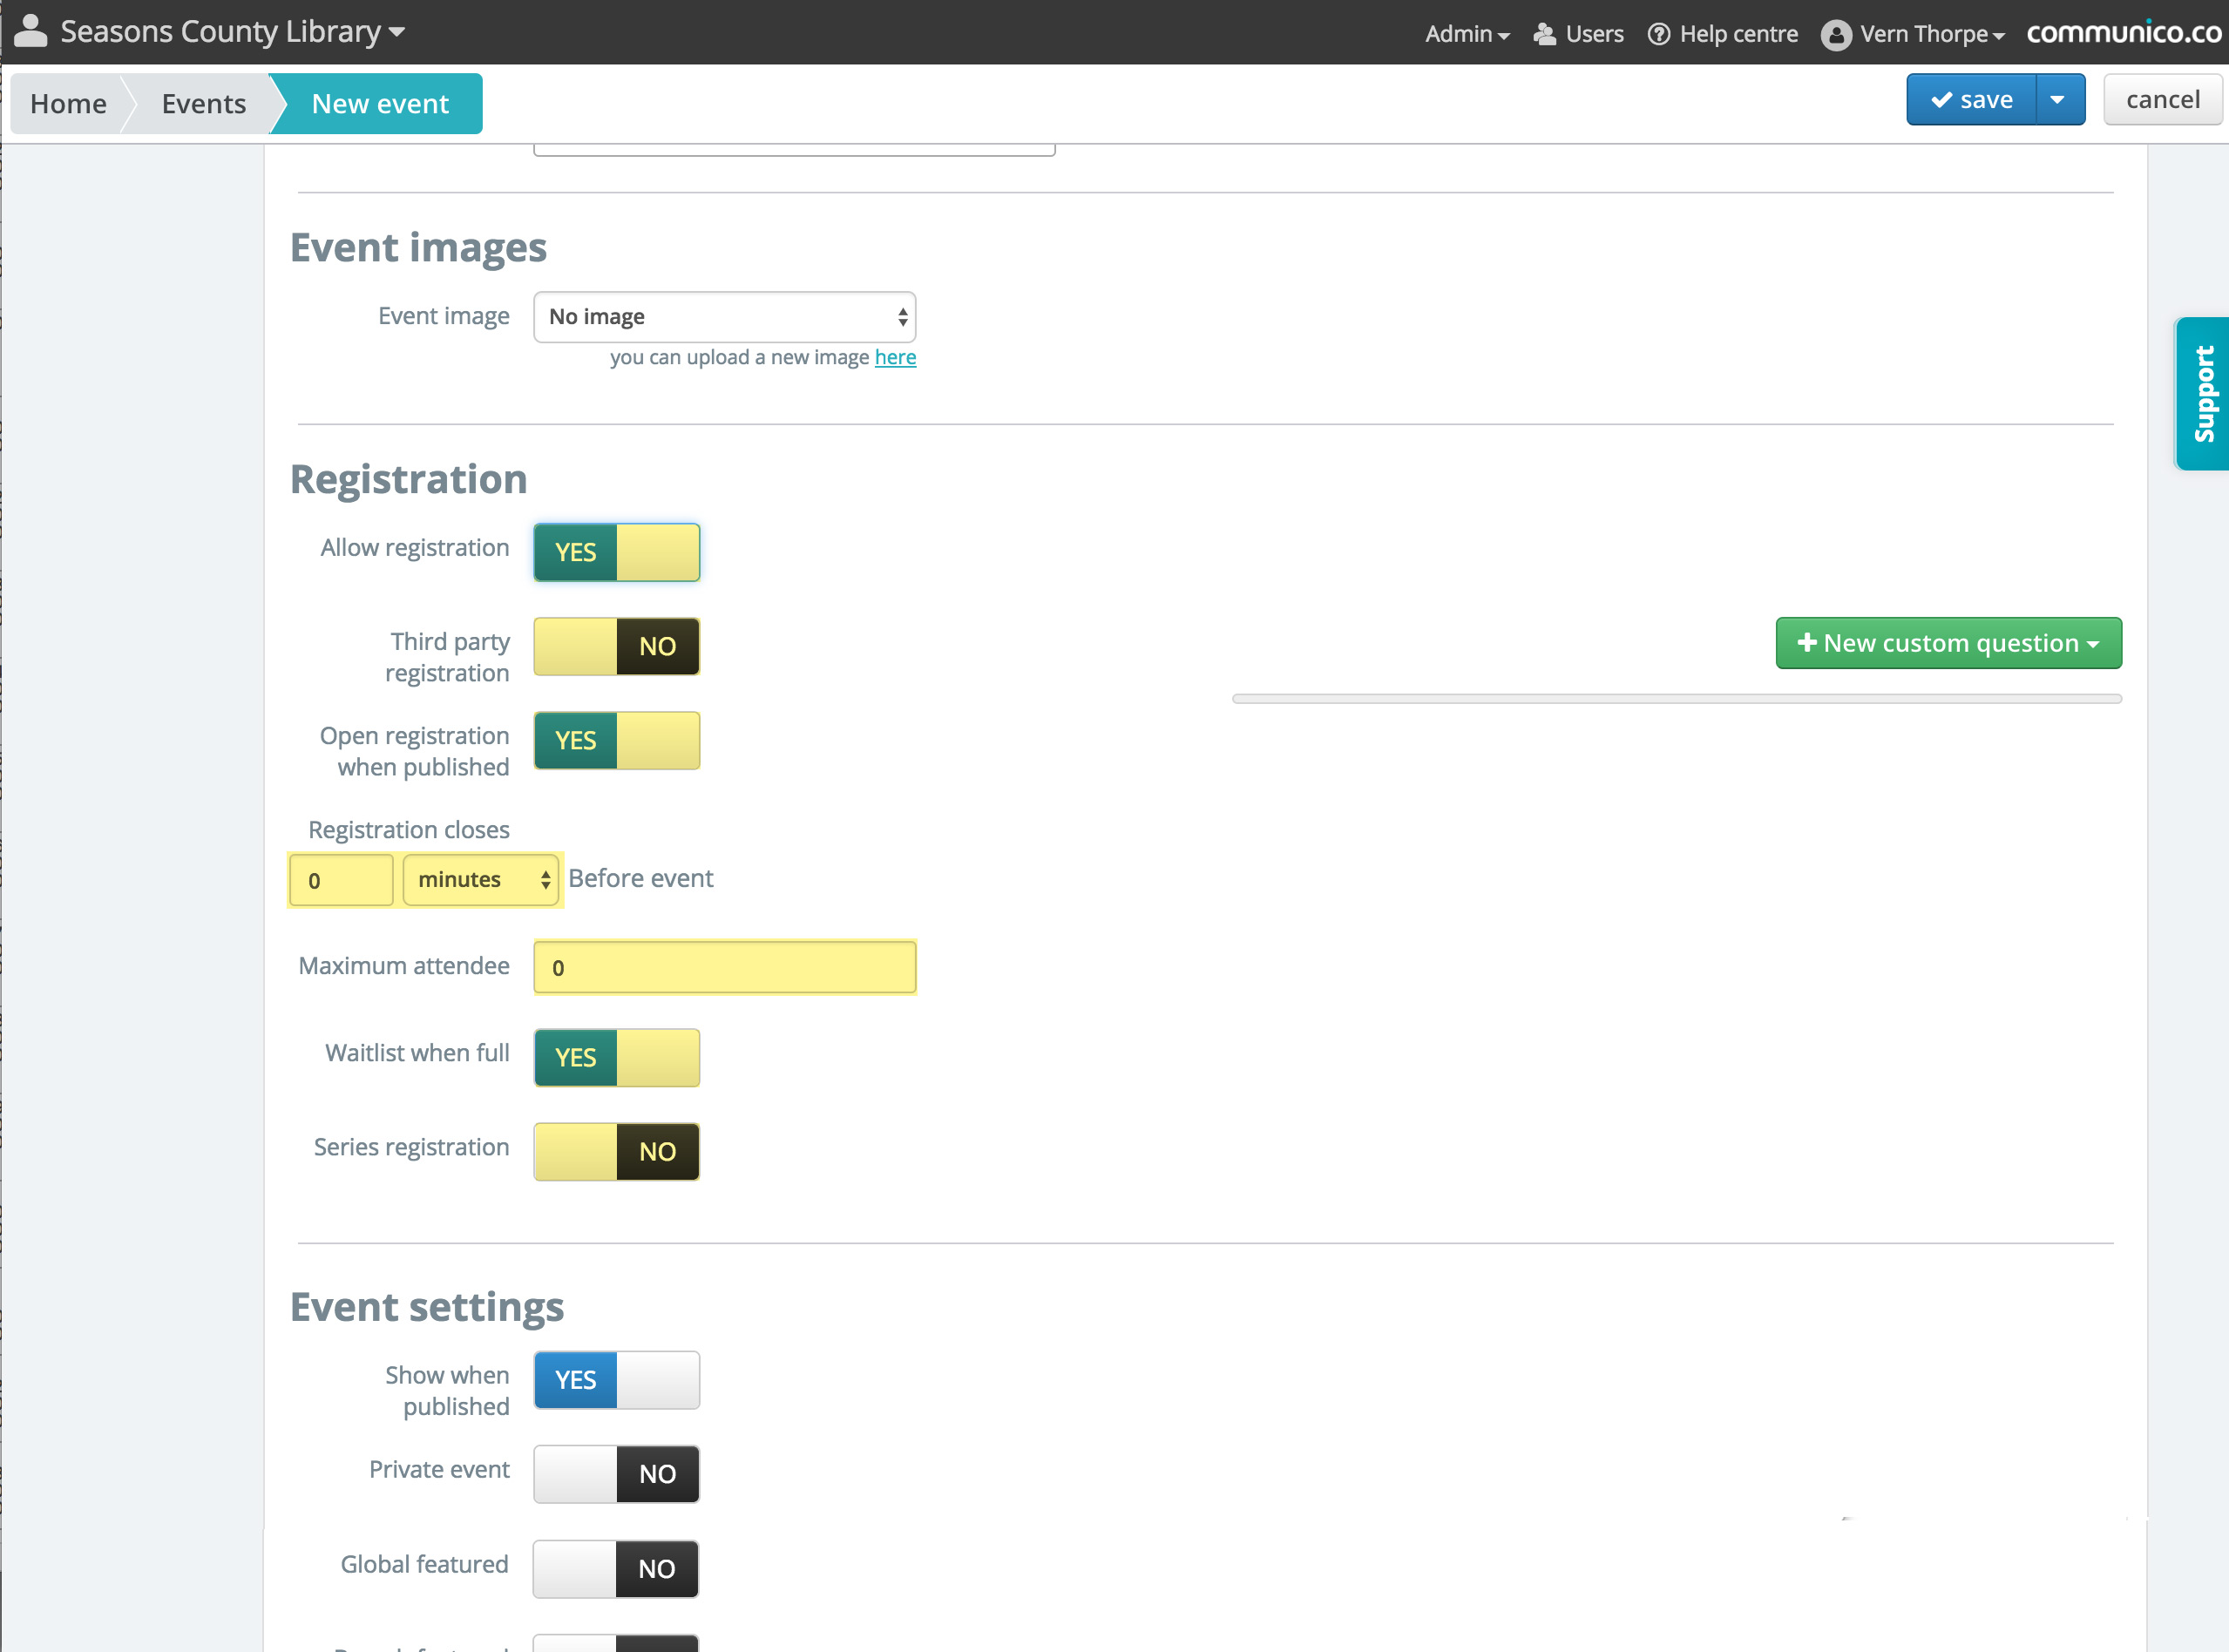
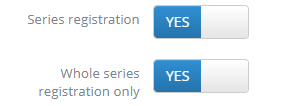
Series Registration
When you have a series event with multiple dates, you have the option to enable Series Registration. This will require registrants to register for all remaining dates in the series if they want to register at all. Leaving this unselected will allow patrons to register for any individual dates from the series.
Additionally, enabling Whole Series Registration Only will mean that patrons can only register for the entire series, they are unable to register midway through the series, or for certain dates only.
Remember to save any changes you have made.