Body
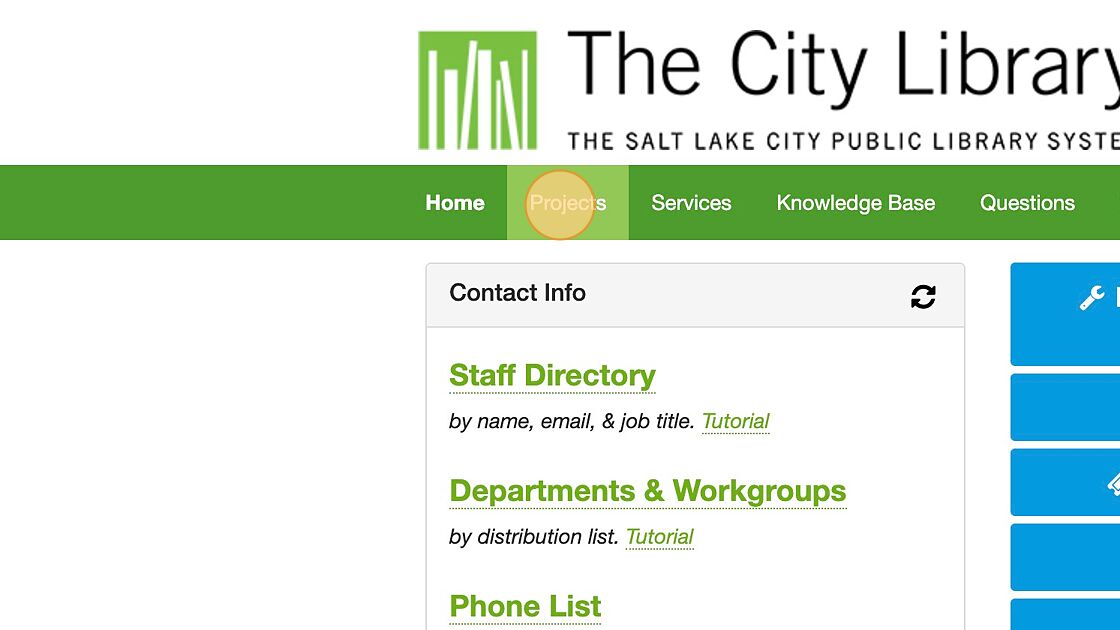
1. Navigate to connect.slcpl.org
2. Click "Projects".
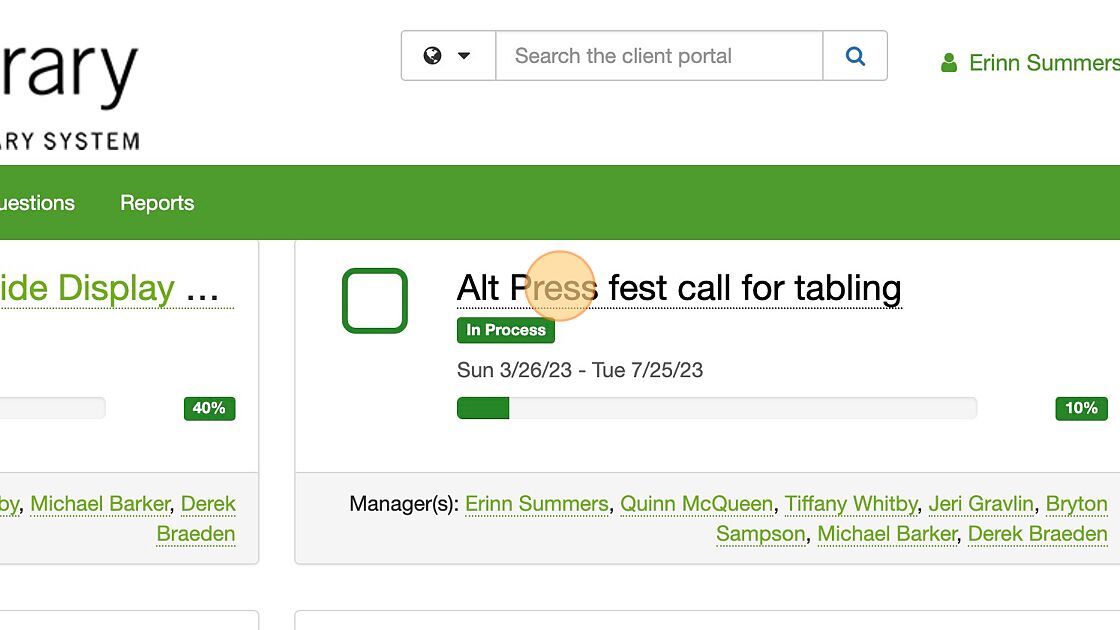
3. Find one of your projects and click on the title of the project to open it.
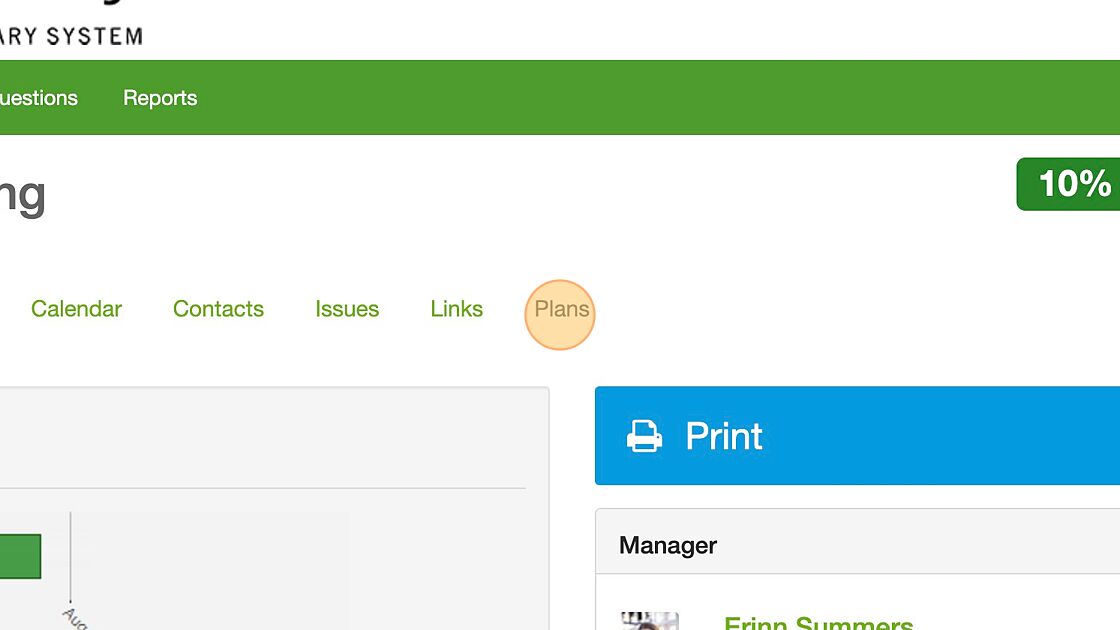
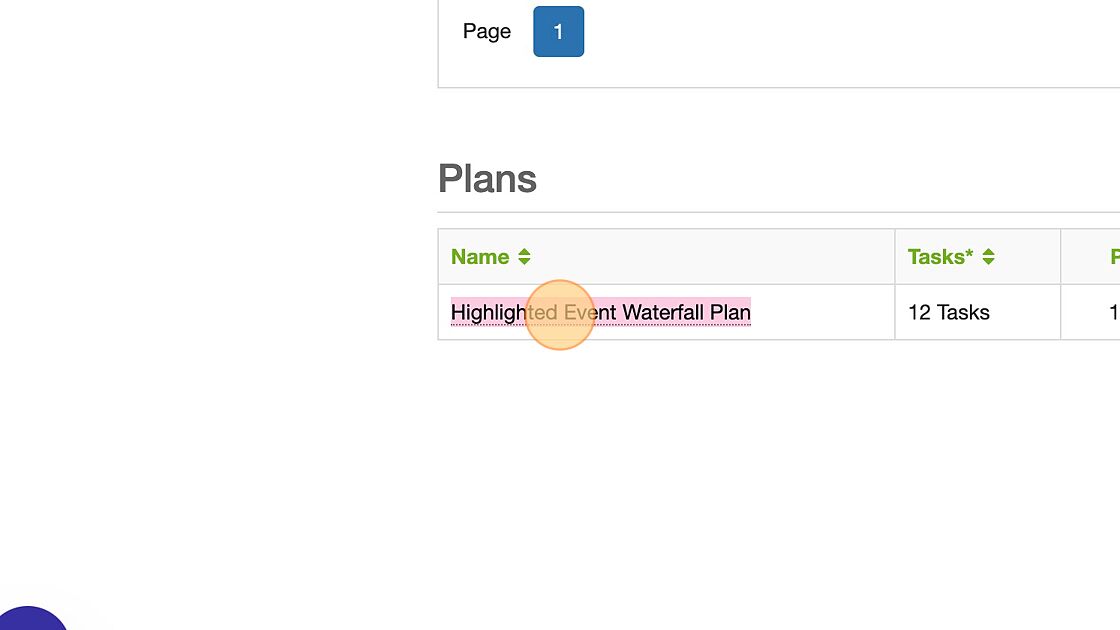
4. Once your project is open, navigate to the "Plans" tab.
5. TDX pulls out all the tasks assigned to you. You will see them under the "My Tasks" header (along with the title of your task, you can see when you should expect to start working on it "Starts" and when it's due "Ends", and you can see the percentage of completeness). Under that is the "Plans" header. Here you will find all the tasks associated with this project. Click on the name of the plan.
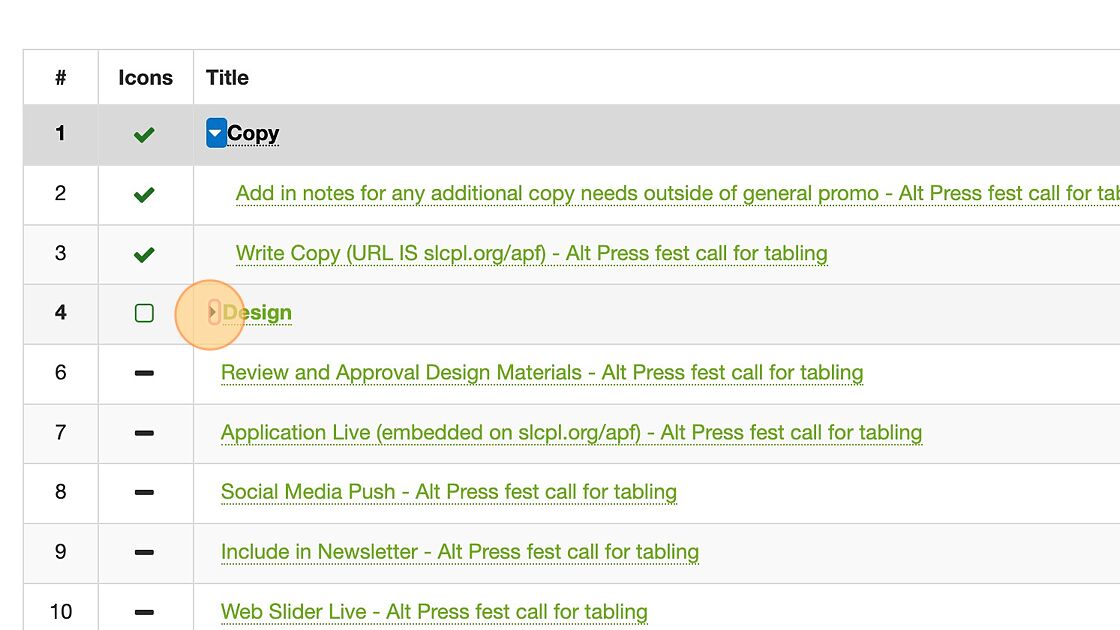
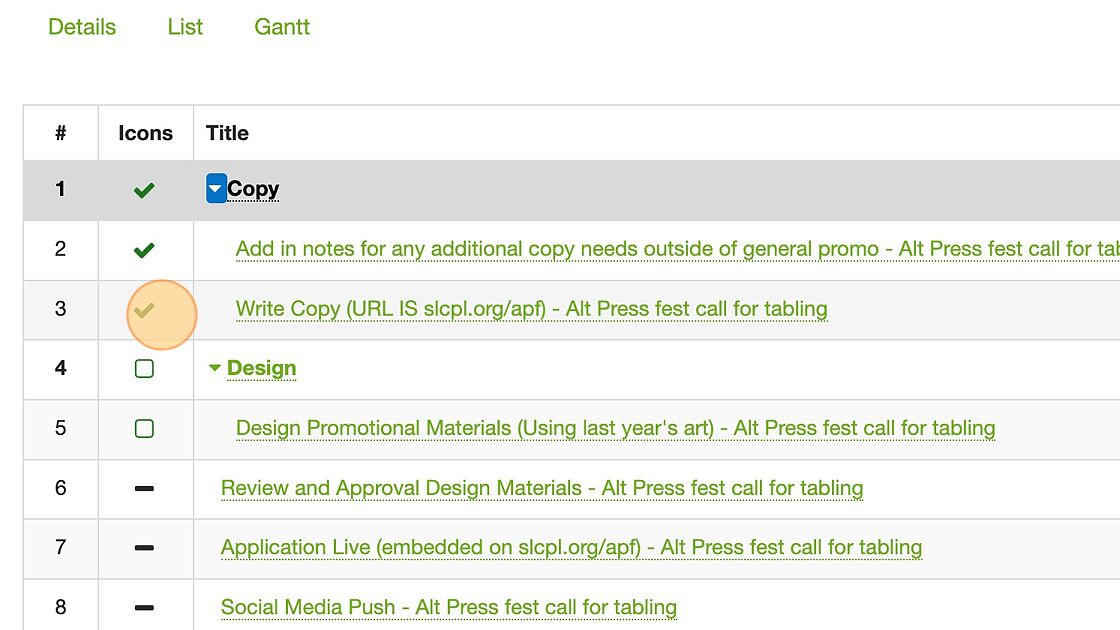
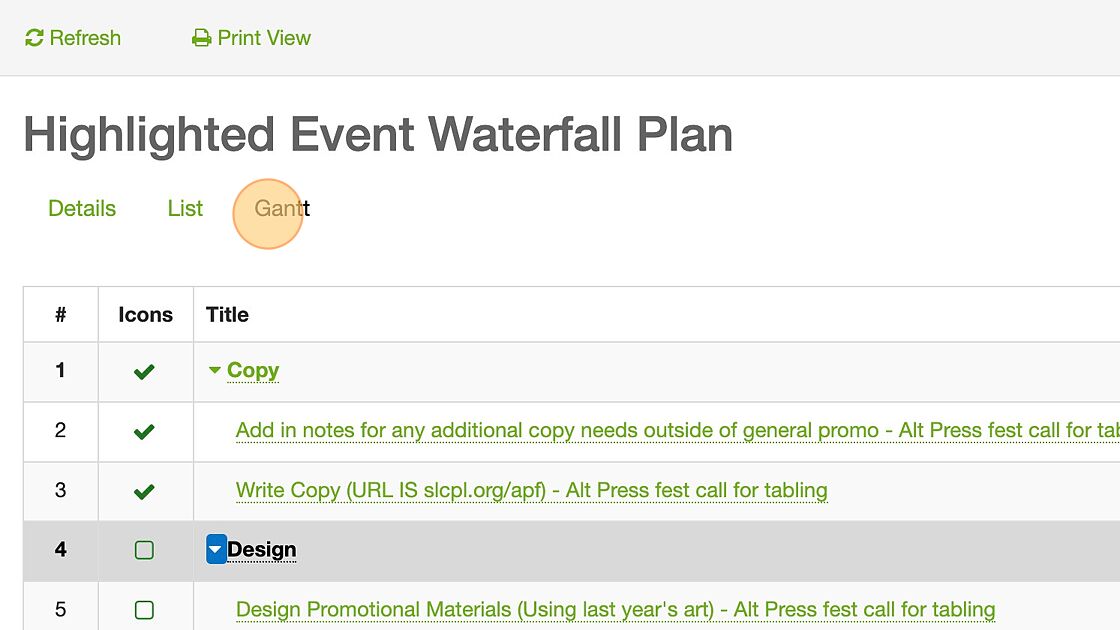
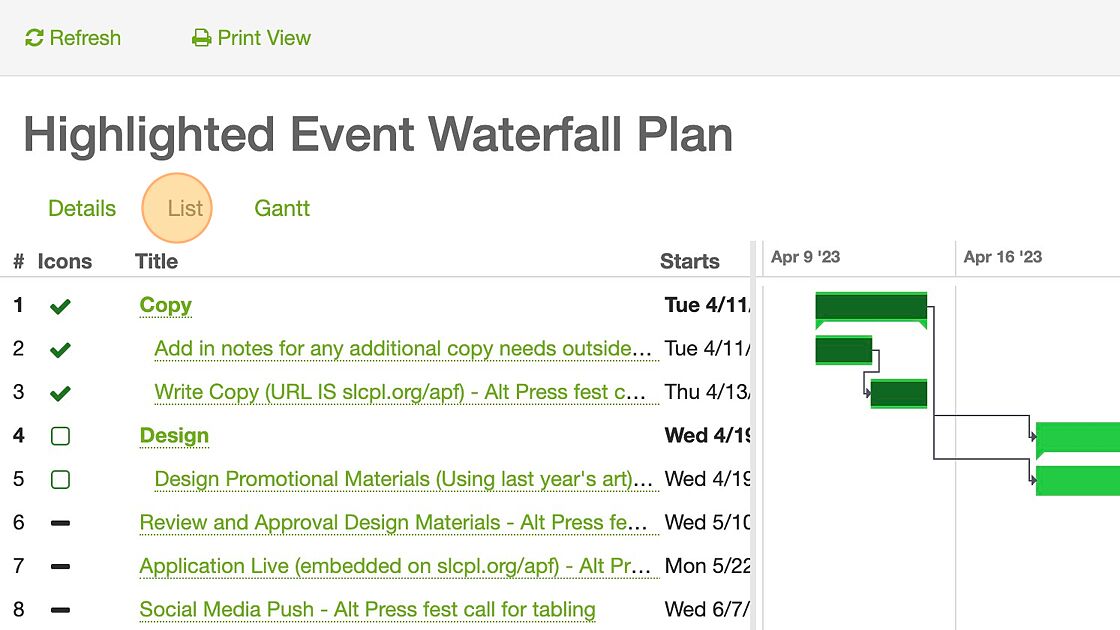
6. All the tasks within the plan will be listed in chronological order. If you see a right-pointing arrow to the left of the title of a task, it means that additional tasks fall under that task. Click on the arrow to uncollapse them. If a task is already uncollapsed, the arrow to the left of the title of the task will point downward (see "Copy)
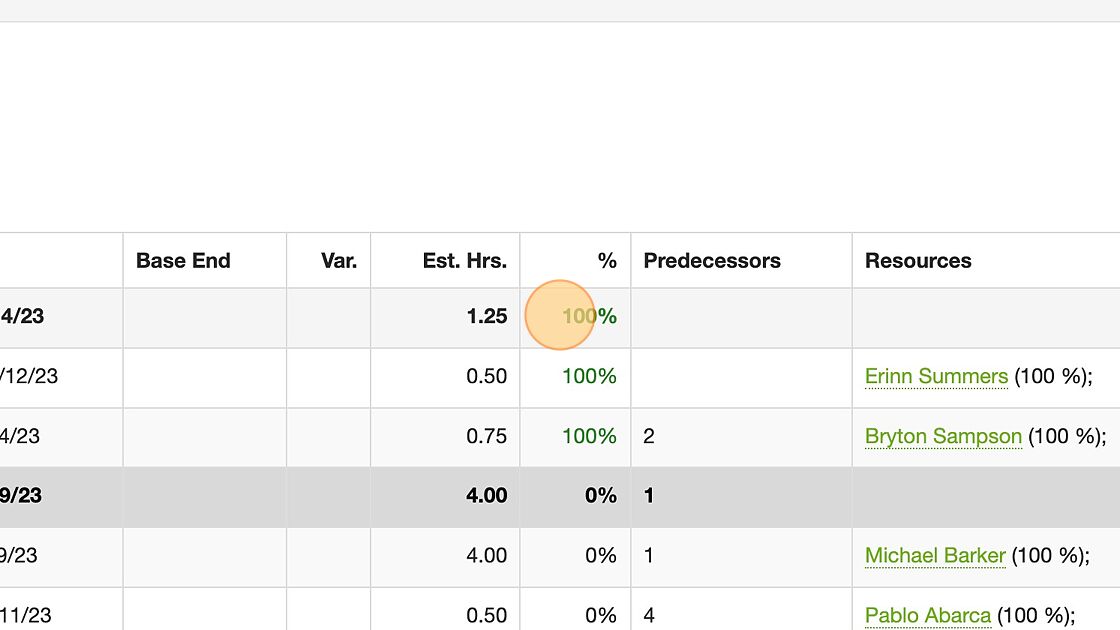
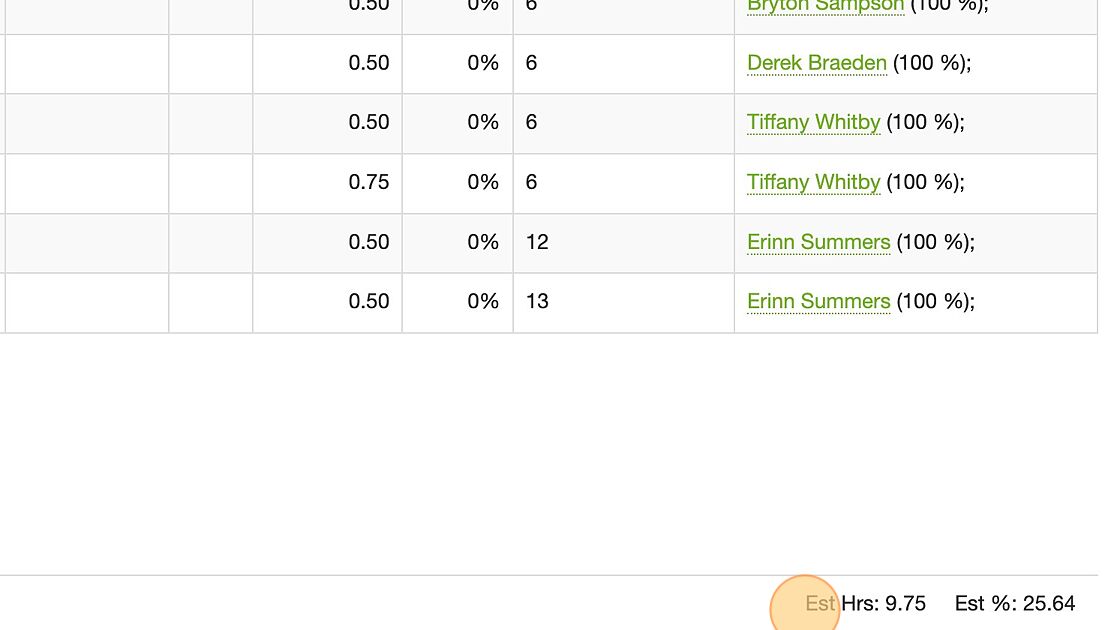
7. Under the percentage sign, you can see if a task is started, completed, or how much progress has been made on it. You can also see the start and end for each task. This is the timeframe the task is scheduled to be worked on and completed during. Under the "Resources" you can see who is assigned to the task. Estimated hours is how long that task is expected to take (uninterrupted) from start to finish. Predecessors informs you if another task has to come first in order for that task to be completed. For example, for you to review the design materials, the designer needs to have completed the design tasks.
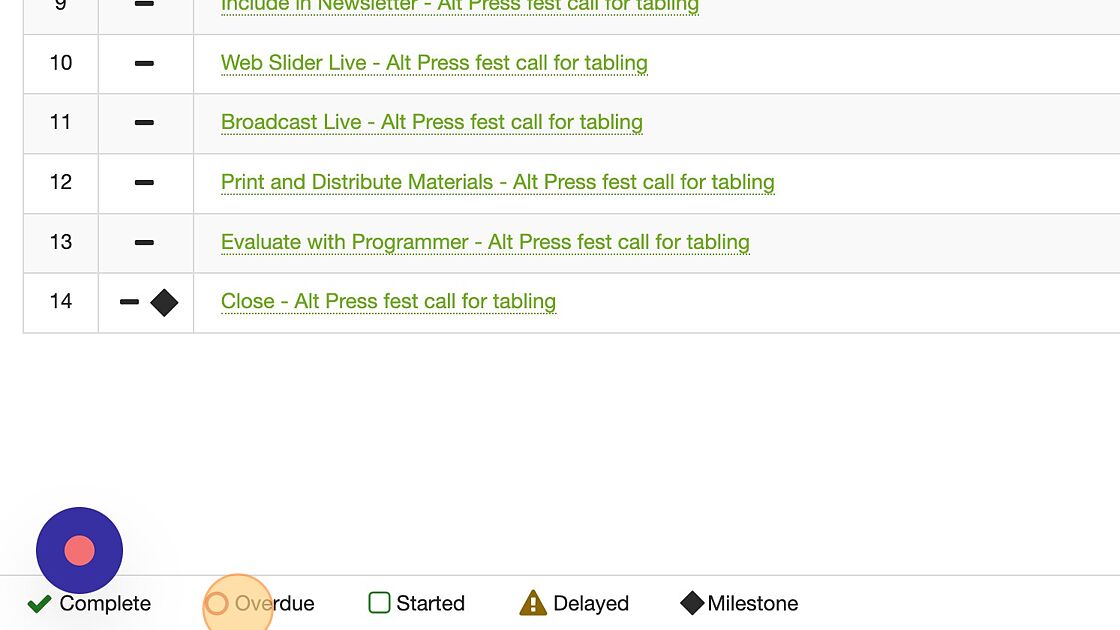
8. The Icons to the left of the title of the tasks are a visual shorthand to see the standing of the task. - A green check mark indicates the task has been completed, - A green box indicates that it's time to do that task, - The black bar indicates that the task has not been started and the time to do the task has not yet passed, - A red circle indicates that the task is overdue, - A yellow triangle with an exclamation mark in the center means that the task has been delayed (because a previous task is overdue and that task, which we refer to as a "predecessor", needs to be completed before this task can be completed), - Finally, you can see a symbol for "Milestones" these will be utilized in larger projects, and will not often be seen on Marketing Projects, but they are benchmarks in a project.
9. To help you navigate the icons, at the bottom of the page, there will always been an icon legend (bottom left-hand corner).
10. In the bottom right-hand corner, you will see a total amount of hours this project is expected to take, and an estimation on how far we are in the project. (Please note this estimate is based on the percentage of tasks completed, but all tasks are not equal, therefore it is not always accurate).
11. If you want to see the tasks in a Gantt chart, click on "Gantt".
12. If you are trying to navigate back to the "List" mode, click on list.
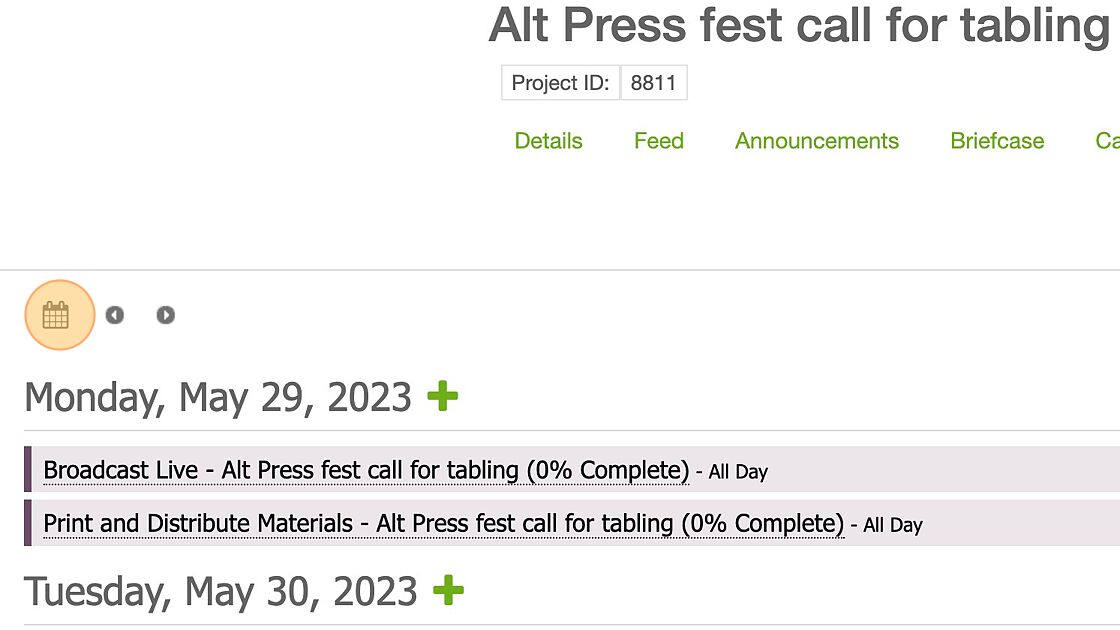
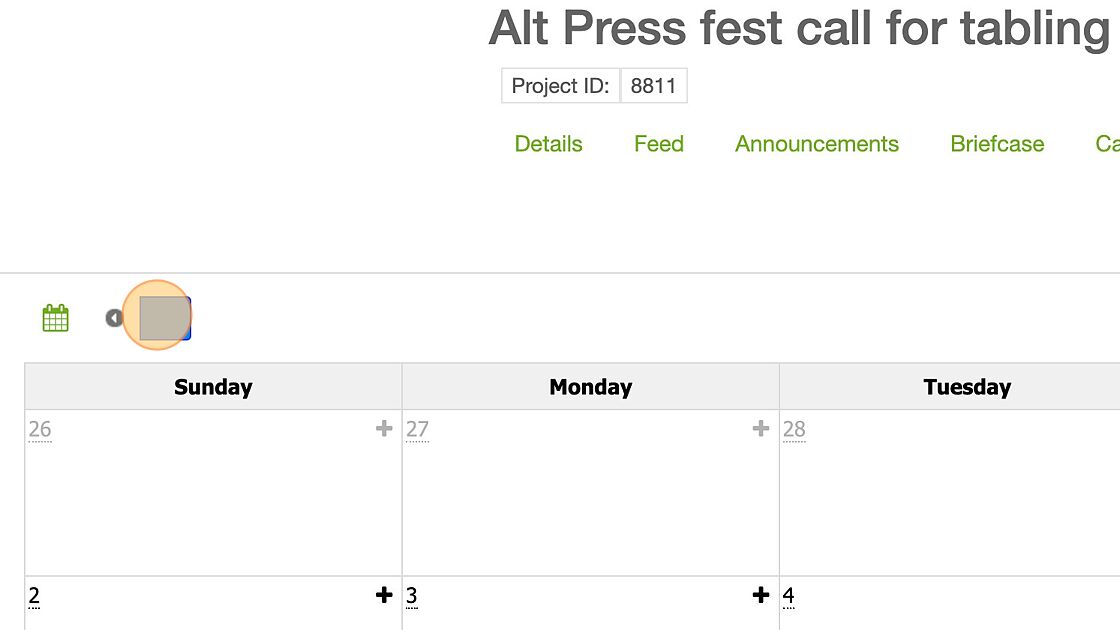
13. Another way to navigate the tasks associated with a specific project is to view the "Calendar".

14. Tasks are added to the calendar, and stretch across the days which are scheduled for the work to be completed (Start and End dates). You can navigate through the months by clicking on the arrows in the top left corner. The dark purple tasks are assigned to you, lilac indicates its assigned to someone else.
15. You are also able to view the tasks in day, week, or list form. I prefer month mode because it allows you to quickly see where the tasks over the month fall and how long it's expected to complete them.
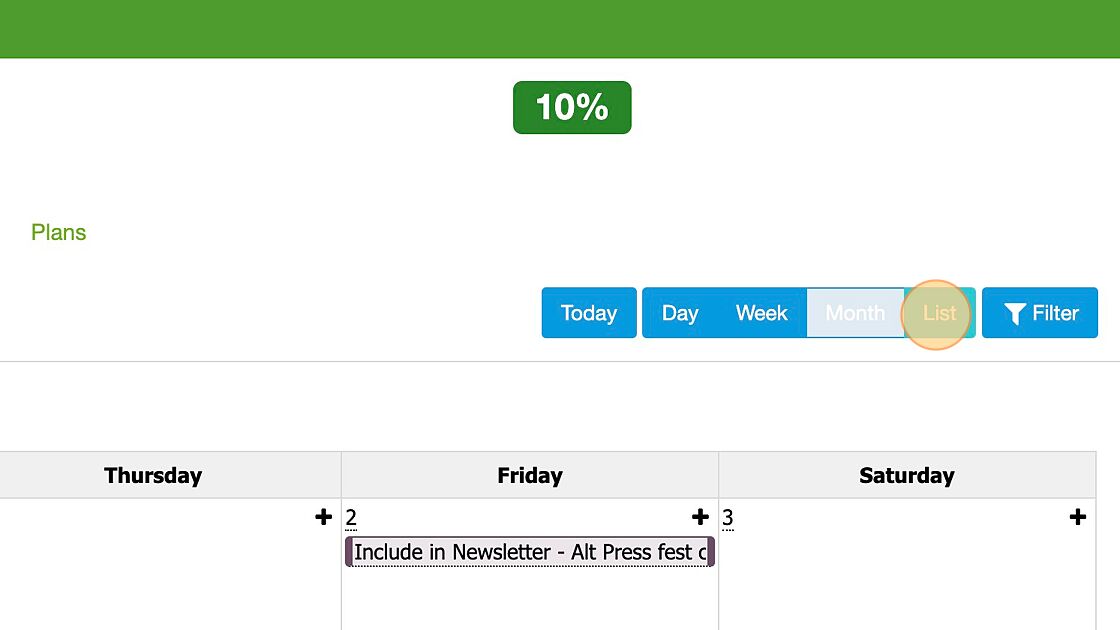
16. Regardless of the mode you are viewing the calendar in, you can navigate the dates in the top left corner.